
Ballerina Nails Short: How I Do It At Home

Ballerina Nails Short Shape is not only beautiful but also elegant!
Ever wondered how to make your ballerina nails short?
Do not worry; I will tell you and even show you how I do it at home in 5 minutes.
Things that I would be using are a nail file, a crayon ( I use the one for eyebrows), and 2 different nail polishes for a strong and natural look (you can use any color that you like). Once you’ve polished your nails, you can add some fun details to elevate your look. Consider incorporating cute summer nail designs, like tiny flowers or stripes, to really embrace the season.
These little accents can make your manicure pop and give it a fresh, cheerful vibe. You might also want to explore some natural nail color options that complement your chosen designs, enhancing the overall appearance without overwhelming it. Soft pastels or nude shades can serve as a beautiful base, allowing the details to shine through.
Don’t be afraid to get creative and experiment, as this is the perfect time to express your personal style.
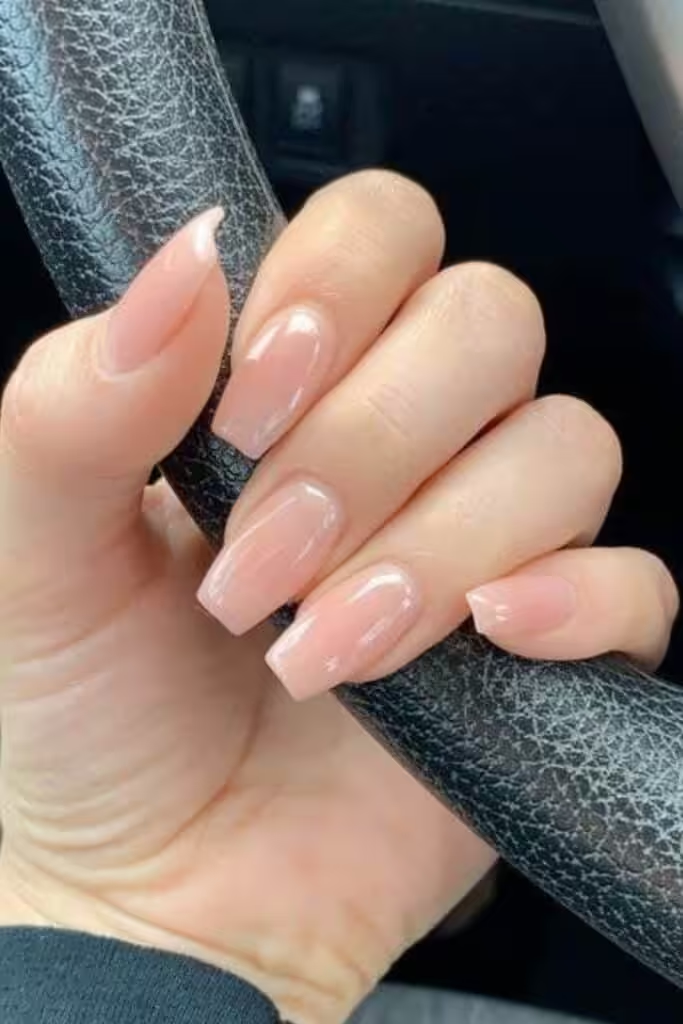
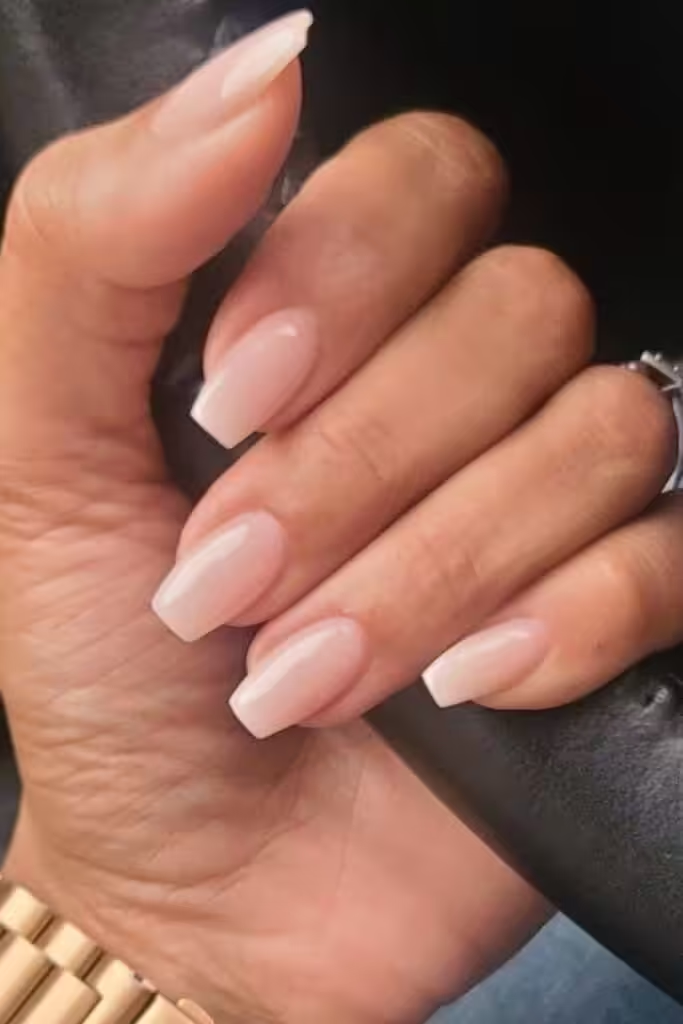
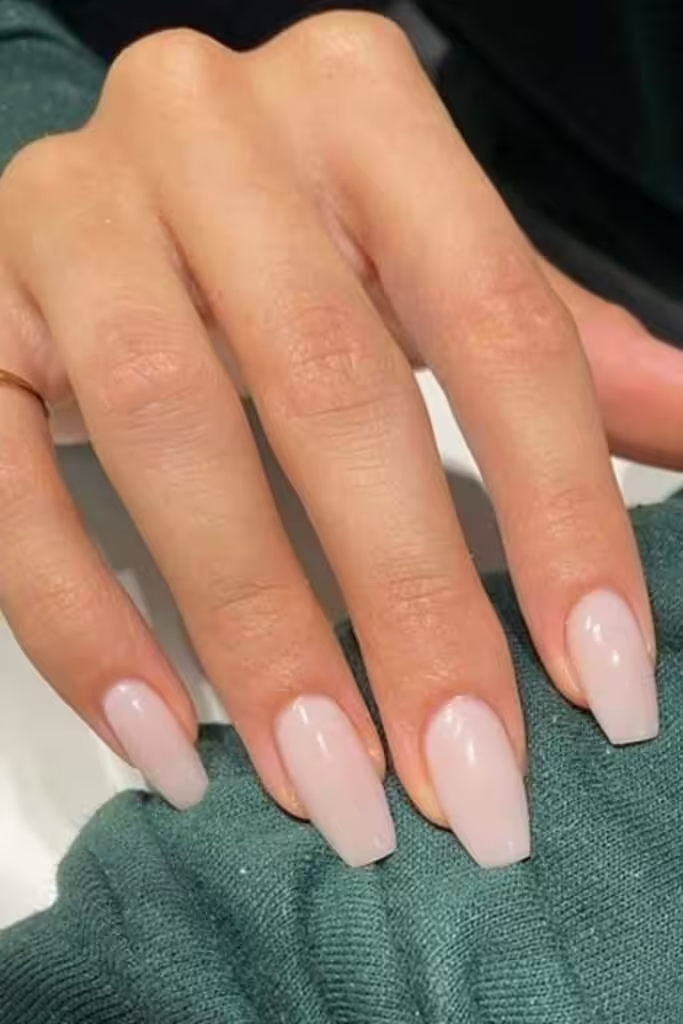
First things first, I would clean my nails, apply a moisturizer to the cuticle, and spread it to the whole surface of the nail. Next, I would gently push back the cuticles and buff the surface of the nails to promote a smooth finish.
For anyone looking for nail care tips for healthy nails, it’s essential to hydrate and protect them from harsh chemicals. Finally, applying a nourishing nail oil can help maintain their strength and shine.
Additionally, staying informed about the latest green aesthetic nail trends can give your nail care routine a fresh twist. Incorporating eco-friendly nail products not only enhances the health of your nails but also supports sustainable practices. Embrace natural colors and plant-based polishes to elevate your style while being kind to the environment.
I usually remove the dry cuticle off to get this ballerina a clean and sophisticated look. It can be a usual hand cream, or I also like to use a lip balm because it’s more concentrated.
An oil for the cuticle will also do if you have it around!
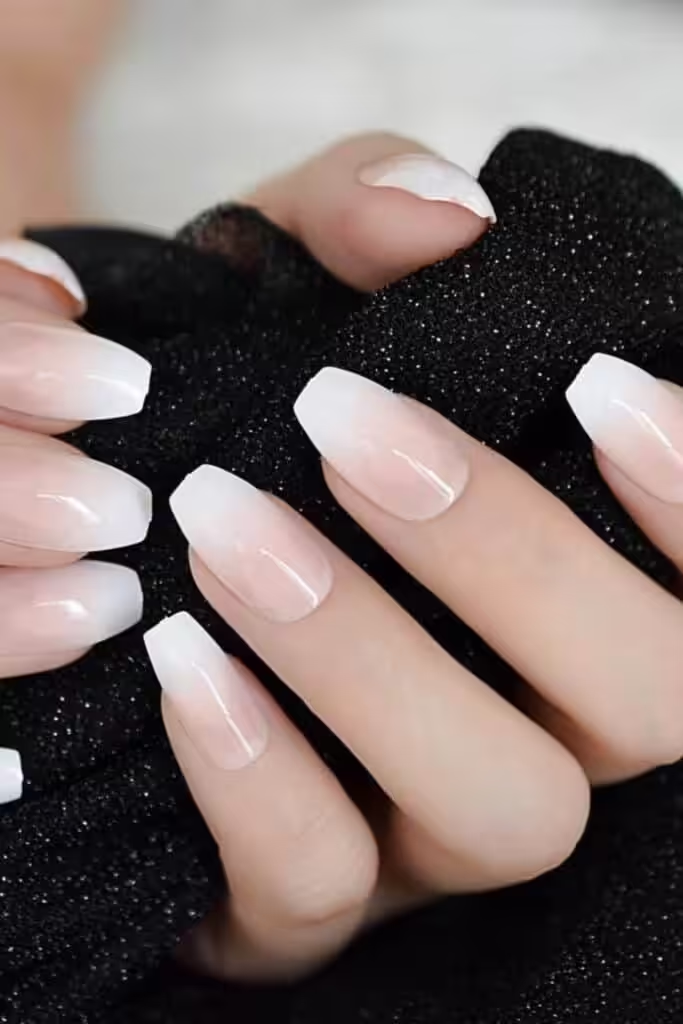
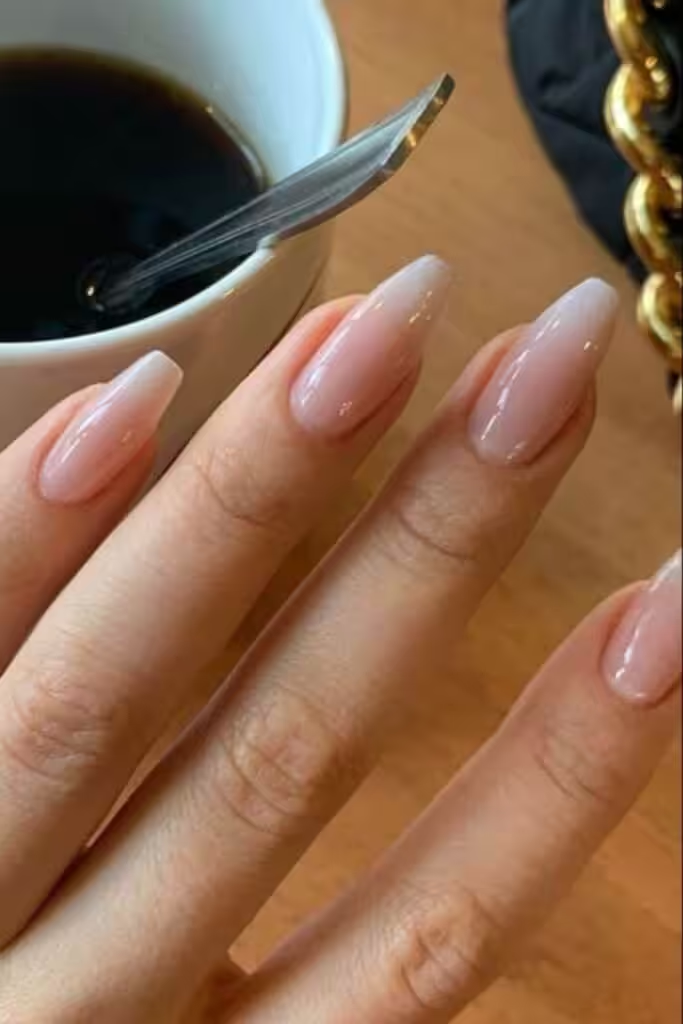
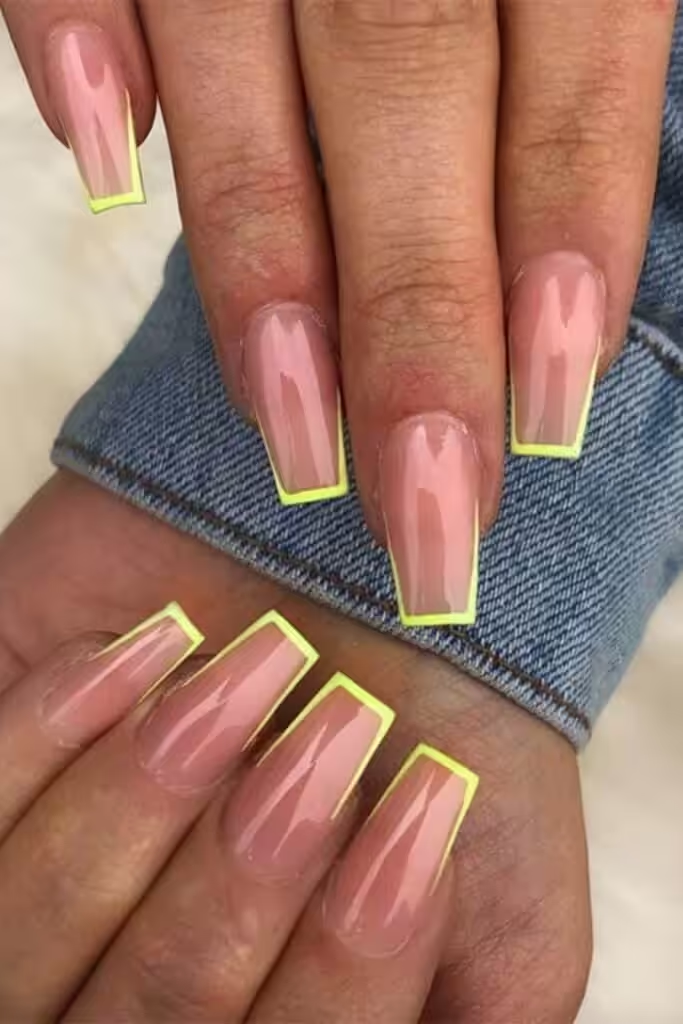
How I File & Shape My Nails For Ballerina Shape Nails
As my nails are clean and soft, I wipe off the excess moisturizer to keep it polish applicable.
Then, it goes quickly and smoothly: I start shaping my nails with a crayon.
I take pointe shoes and shape them with the same silhouette. It’s quite different from the coffin shape because it would have a softer and bulkier shape (the coffin shape is sharp and straight).
Take a closer look at a ballet pointe shoe, and you will get it!
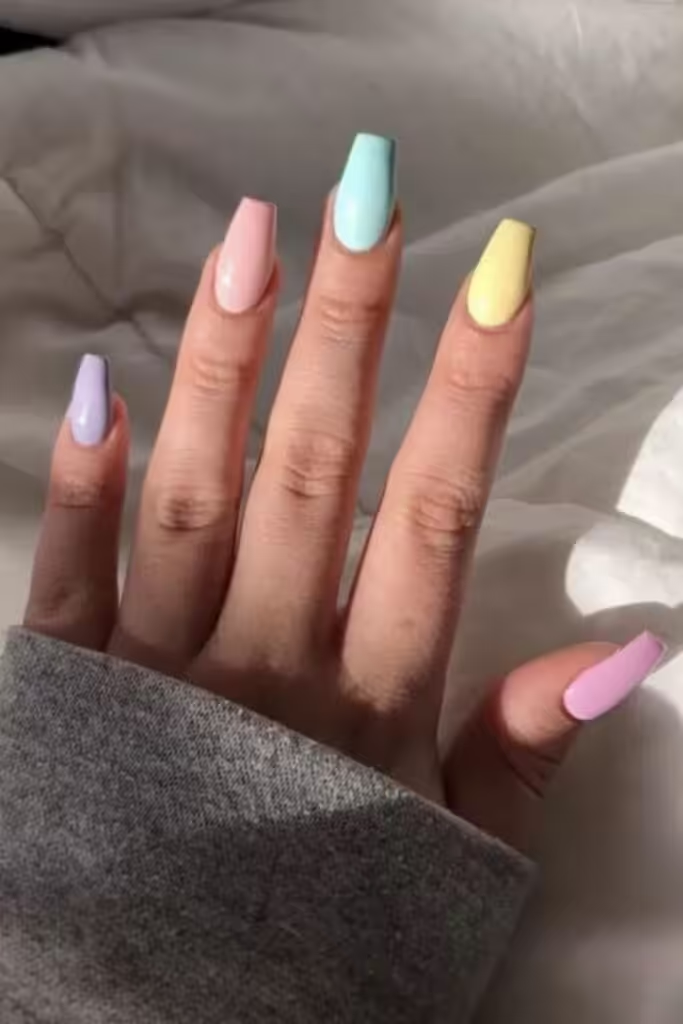
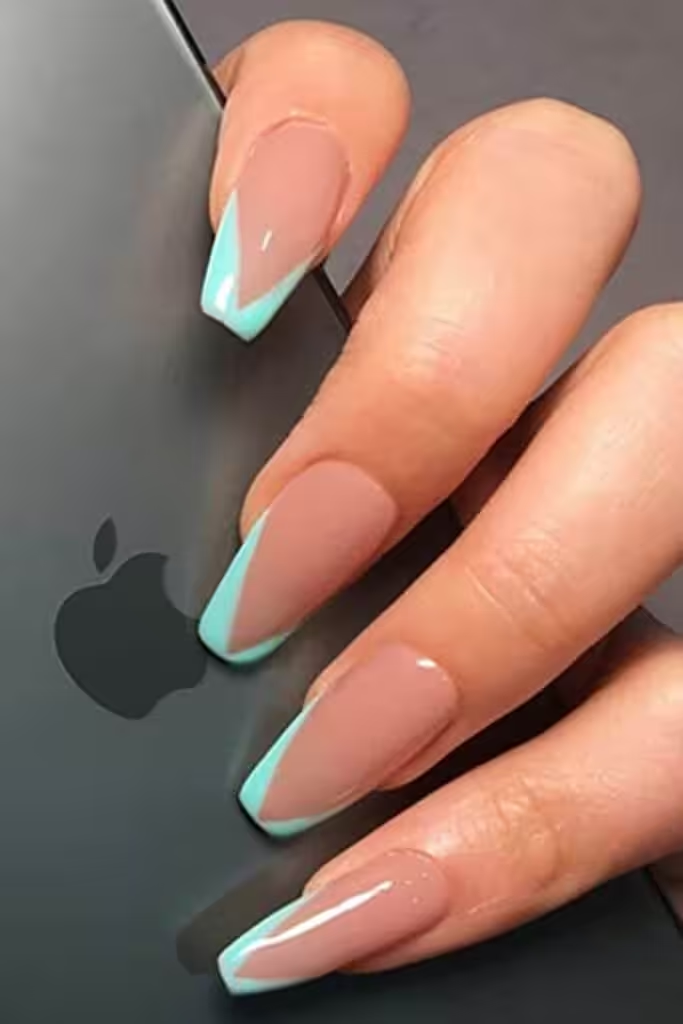
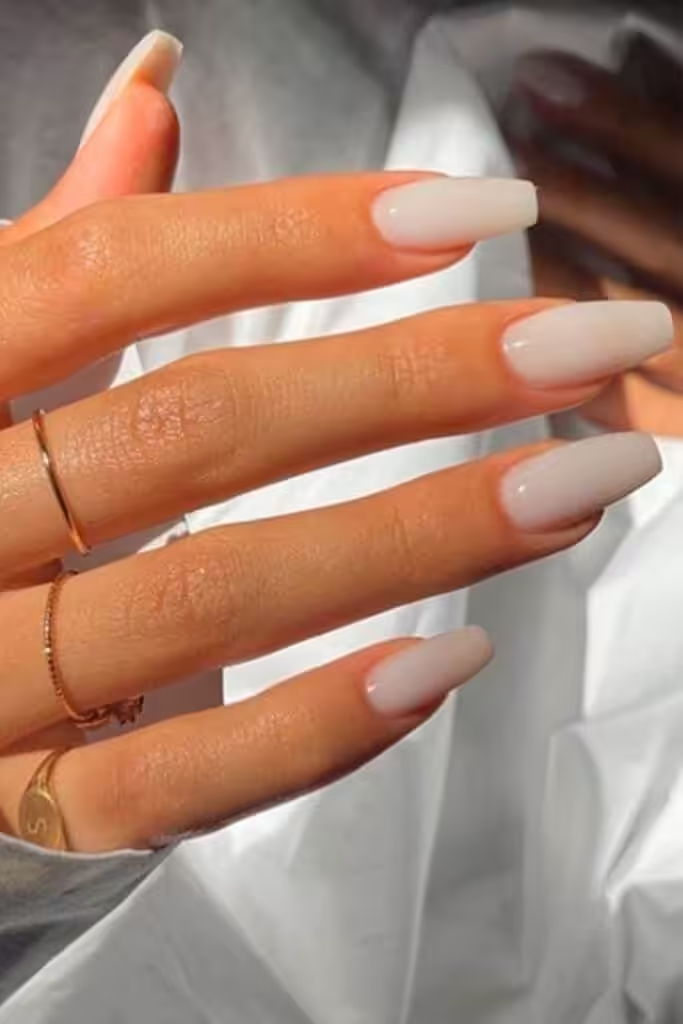
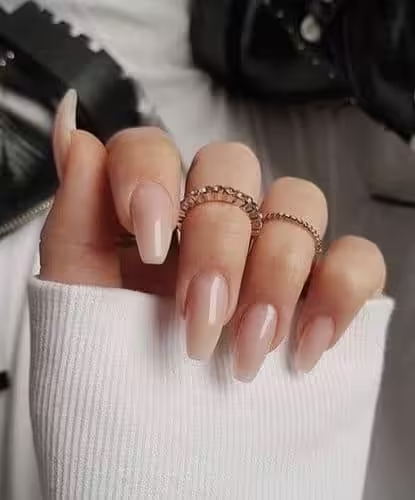
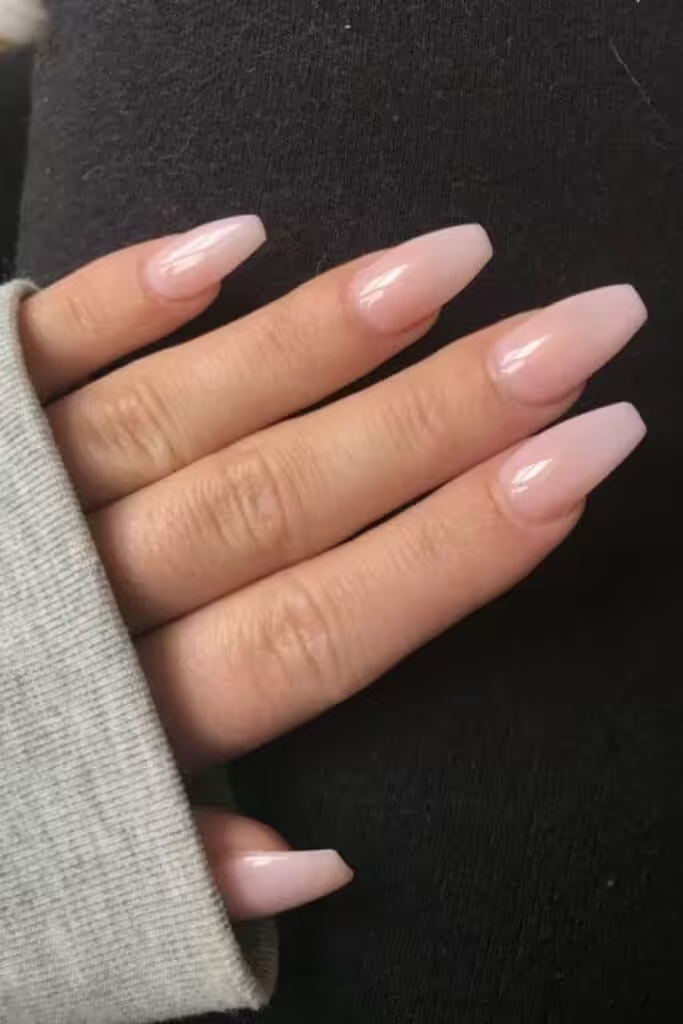
Once I drew the shape with the crayon, I started with the nail file. Starting from the top to the bottom in a diagonal way, making a curve with a tipping point at the end.
Now, once you are happy with the shape of one nail and you think it resembles a ballet shoe shape to the maximum, you are good to go with the rest of your nails. Next, consider adding a fun twist to your ballet shoe nails by exploring different color gradients. For an elegant look, you might follow an ombre nails tutorial for beginners that shows you how to blend shades seamlessly.
This technique can elevate your nail art, making it not only chic but also eye-catching. You can also consider incorporating elegant nude nail designs into your ballet shoe theme for a sophisticated look.
These designs can serve as a perfect backdrop for subtle embellishments like gems or foil accents, enhancing the overall appearance. Whether you choose to keep it simple or add intricate details, your nails will be sure to stand out.
I can tell you that it’s the perfect color and shape to use. As a former ballet dancer, I confirm that this clean look is what every ballet dancer would really want to use all the time.
If you are up for a classy look, use these polishes to get that vibe:
HOW TO GROW YOUR NATURAL NAILS EASY TIPS


